
Highspeed Photography 101
Table of contents
Introduction
Lesson 1: Freeze the motion with your shutter
Lesson 2: Freeze the motion with your shutter II
Lesson 3: Freeze the motion with your flash
Lesson 4: A small but powerful helper: Arduino
Lesson 5: Trigger your camera with an Arduino
Lesson 6: Trigger your flash with an Arduino
Lesson 7: Working with sensors: Light barrier
Lesson 8: Working with sensors: Sound trigger
Lesson 4: A small but powerful helper: Arduino
Introduction
As I began with highspeed photography, I bought a cheap sound trigger. Soon I realized, that this trigger wasn’t very flexible – f.ex. I couldn’t set the delay very accurate. I did some research and found out that I need a programmable microcontroller. As I had no electronic knowledge, it had to be something really simple. Some friends have already spoken about that “Arduino”, so I had a look at it and recognized, that an Arduio perfectly fits my needs.
Highspeed 101 - Multi exposure image
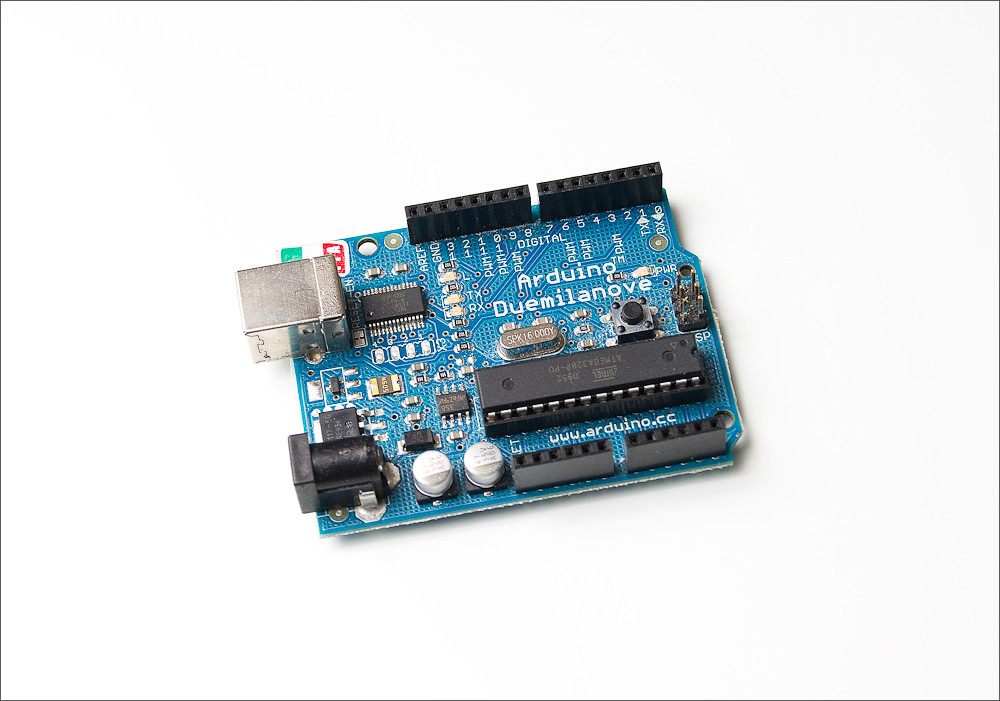
What is an Arduino?
“An Arduino is a single-board microcontroller and a software suite for programming it. The hardware consists of a simple open hardware design for the controller with an Atmel AVR processor and on-board I/O support. The software consists of a standard programming language and the boot loader that runs on the board.”
Source: Wikipedia
An Arduino is a programmable microcontroller including board with inputs and outputs.
What can I do with an Arduino?
The possibilities are endless. Some example projects may be found at www.ladyada.net or at hack n mod.
I use my arduino to read the sensors (sound and light barrier) and to trigger my camera or my flash. I can very easily build a circuit, which will trigger the flash 50 milliseconds after a sound appeared.
Where to begin?
As I already said, when I began with Arduino I had no electronic experience. I bought an Arduino (an solderless breadboard and a 5 Pack LEDs including resistors, about 40$) and have read this tutorial. (Even if they say you need a multimeter and a solder iron, it will work without). If you have now programming / electronic experience, you should really read all the lessons and try to understand.
When you read all those lessons, you have enough knowledge to trigger your camera or your flash with an Arduino. We’ll look at this in the next lesson.
Equipment
– Arduino
– Solderless breadboard
– 5 Leds
– 5 1KOhm resistors
When do I use my Arduino?
I did use my Arduino on several occasions:
– Popping water balloon
– Splash in a glass
– Kiwi Splash
– Champagne Splash
– Milky Music on white
Conclusion
In this lesson I collected some links, to help photographers to start working with the Arduino-Plattform.

Pingback: Highspeed photography 101 – Lesson 3 | pascalbovet.com
Pingback: Highspeed photography 101 – Lesson 2 | pascalbovet.com
Pingback: Highspeed photography 101 – Introduction | pascalbovet.com
Pingback: Highspeed photography 101 – Lesson 5 | pascalbovet.com
Pingback: Highspeed photography 101 – Lesson 1 | pascalbovet.com
Pingback: Highspeed photography 101 – Lesson 7 | pascalbovet.com
Pingback: Highspeed photography 101 – Lesson 8 | pascalbovet.com
Pingback: Highspeed photography 101 – Lesson 6 | pascalbovet.com